Roof coatings are a cost-effective roofing solution that helps to protect your flat roof from water damage and other harmful elements. They’re easy to maintain and can increase the value of your property.
To ensure that you do this project correctly, it’s important to take the following steps:
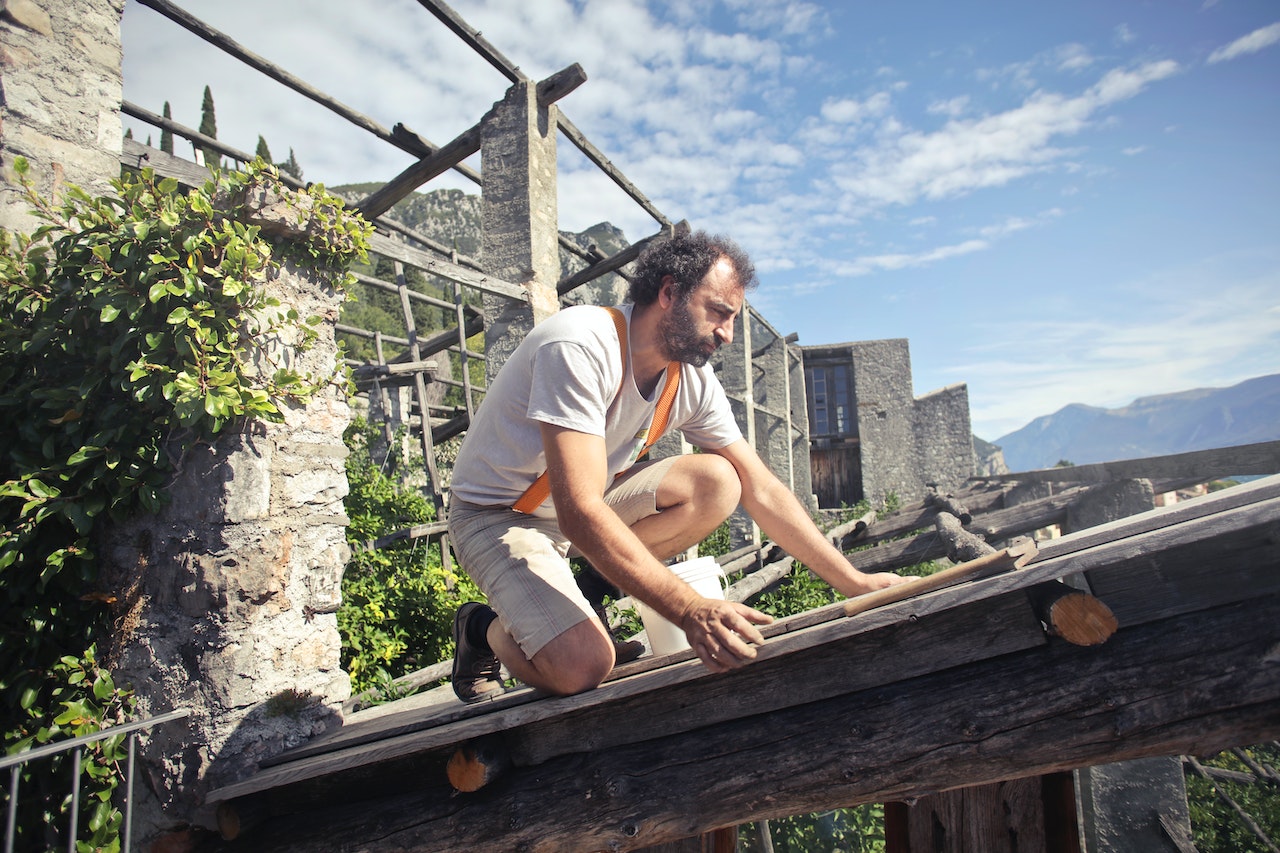
1. Use a Ladder
The roof coating industry is exploding thanks to its success in helping mobile home owners extend their roofs’ lifespans. With the right tools and safety precautions, anyone can easily resurface their own roof.
Begin by sweeping away any debris and then washing the roof thoroughly with water. Once it is completely dry, it’s time to start applying the elastomeric roof coating. Work in sections, completing one area before moving on to the next. Be sure to take extra care around vents, antennas and any seams in the roof.
It is best to have 2 people working together, so 1 person can lean on the ladder while the other rolls the coating into a smooth and even coat. This helps to prevent dripping or splattering which can lead to a slippery surface and a potential fall off the roof.
2. Apply the Elastomeric Coating Material
Elastomeric roof coatings can repair some types of damage to a roofing structure, but they are also great for filling in cracks and voids to prevent water ponding. These coatings are also able to handle expansion and contraction throughout the day due to different temperatures.
When applying the elastomeric roof coating, it is important to follow the instructions on the product. Most products can be rolled on or applied with a spraying device. Some products also have different nap thicknesses, and it is important to choose one that fits the roof’s surface.
Some elastomeric roof coatings are designed to be used around protrusions on the roof, including drains, vent pipes, electrical and refrigerant raceways, and equipment anchors. These coatings can provide extra protection and help the roof last longer by protecting against damage.
3. Don’t Spread It Too Thinly
While this may seem like a daunting task for a homeowner, it’s actually quite a simple job for anyone with experience in painting or other surface coatings. You’ll want to be sure that your roof is in good condition before you attempt this project. This means repairing any cracks or gaps and addressing any ponding areas.
You’ll also need to thoroughly clean the roof surface before beginning the project, removing any mildew or dust. This will ensure that the coating sticks properly and prevents any splotchy spots in the finished product. It’s also a good idea to work in warm weather to avoid dew or frost and speed up the drying process. Make sure you’re wearing pants, long sleeves, closed-toed shoes and a hat to protect yourself from splashes of aluminum coating.
4. Apply the Second Coat
Coating a roof is a relatively easy task, and a project that even the most nimble do-it-yourselfer can manage. However, because the lion’s share of this work is conducted at great heights, it requires special safety precautions.
When the first coat is dry, apply a second layer, and make sure to backroll it into a smooth finish. Wait four to six hours for this coat to dry.
Be sure to carefully inspect the entire surface of your flat roof for holes, cracks, weathered spots, and any other damage that you may have missed during the initial cleaning and coating process. These issues can lead to leaks or worse, damage to the structure of your home. This is why it’s important to have the help of a licensed roofing contractor.
5. Apply the Third Coat
The third coat is the final touch-up to ensure that all seams are smooth and tidied up. This is where it pays to hire a professional roofer if you can afford one as they have the skills and tools to get the job done.
When this is done, it’s time to apply the finish coat. This should be a little wider than the second coat and can be applied either with a wide taping knife or, for a faster method, a paint roller.
Coating a flat roof is a relatively inexpensive project that most handy DIYers can undertake, depending on the material of the roof. It is a great way to protect your roof and extend its lifespan. It also helps to reduce moisture damage and energy costs.